So I am addicted to Pintrest. If you don't Pin, then you need to get on board! I even have my mom and my sister on it! They are a little bit addicted as well. I found this really cute ribbon light strand under DIY/Crafts and I decided to try it out last night. We have a banister up the stairs to our other bedrooms so Matt and I both wanted something really pretty on the banister. (The more I look at Pintrest I wish I had an exposed stairwell...There is so much you can do with it!) Back to the project:
Materials:
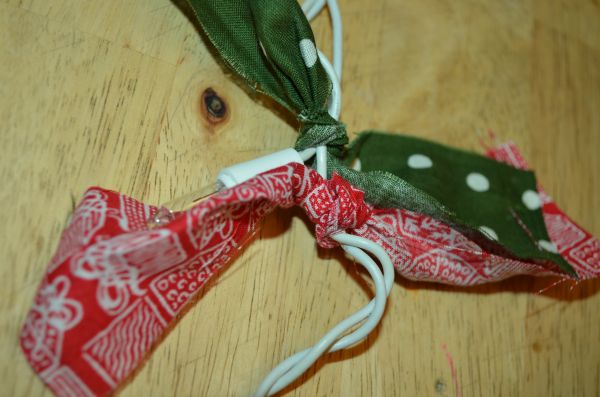
Fabric or Ribbons (I used Christmas fabric I had leftover-Red and Green prints)
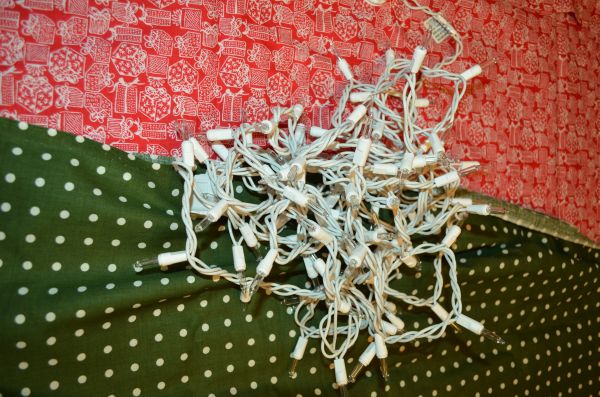
Strand of 100 lights
Time: Forever!!! I think it took me about 30 minutes to cut all the strips and then another 45-1 hour to actually tie them all.
Cuteness: 100%
1. Cut fabric into long strips. This will make cutting them into the desired length a lot easier. I cut mine about 2- 2 1/2 inches wide. I was not precise.
2. Once you cut 20-30 long strips cut the long strips into 3-4 inch(I just randomly cut and then tied them to see if that was long enough) small strips. I stacked all of my long strips together and then cut them.
3. Then I started tying! I did 2 strips between 2 light sets. On the ends I tied a couple of my extra ones to hid the plugs. In hindsight I would have probably tied more than 2 between each light set to make it look fuller. I think if you use ribbon you might have to do 3 or 4, depending on the width of the ribbon.
4. ENJOY! I hung it on our door to take some cute pictures of the finished product. I even took a cute picture of Jennings with the set on the the floor! I am thinking about doing a couple more for other places around oour house. I think it would look great on the lights you hang on the tree! Matt hung it on the banister today while I was at school and I can't wait to plug it in and have it on for Christmas!


No comments:
Post a Comment